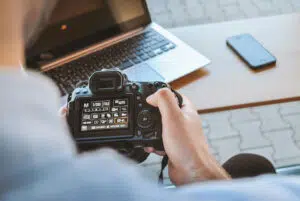
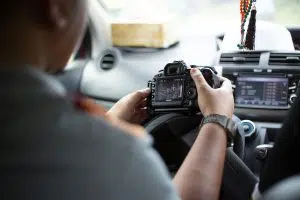
If you’ve ever taken a blurry photo and wondered what went wrong, chances are your camera settings were off. Shutter speed plays a major role in controlling motion and exposure in photography. Understanding how to adjust it for different lighting conditions and movement is crucial for capturing sharp, professional-quality images.
Whether you want to freeze a fast-moving subject or create dreamy motion blur, this camera shutter speed guide will help you take control of your settings and elevate your photography.
What is Shutter Speed?
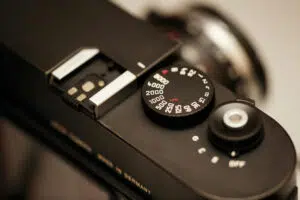
Shutter speed refers to how long your camera’s shutter stays open when you take a picture. It’s measured in fractions of a second—like 1/1000s, 1/250s, or 1/30s. A fast setting means the shutter opens and closes quickly, capturing a very short moment in time.
A slow setting, on the other hand, keeps the shutter open longer, allowing more light to enter the camera and capturing movement over time. Learning how to use different settings in low light conditions can significantly improve your night photography skills.
Fast vs. Slow Shutter Speed
Fast speeds, like 1/1000s or faster, are great for freezing motion. Think of a bird in flight, a sports event, or kids running at full speed—using a high-speed setting ensures that your subject remains crisp and sharp with no motion blur. Many photographers use a high-speed setting for wildlife photography to capture animals in action.
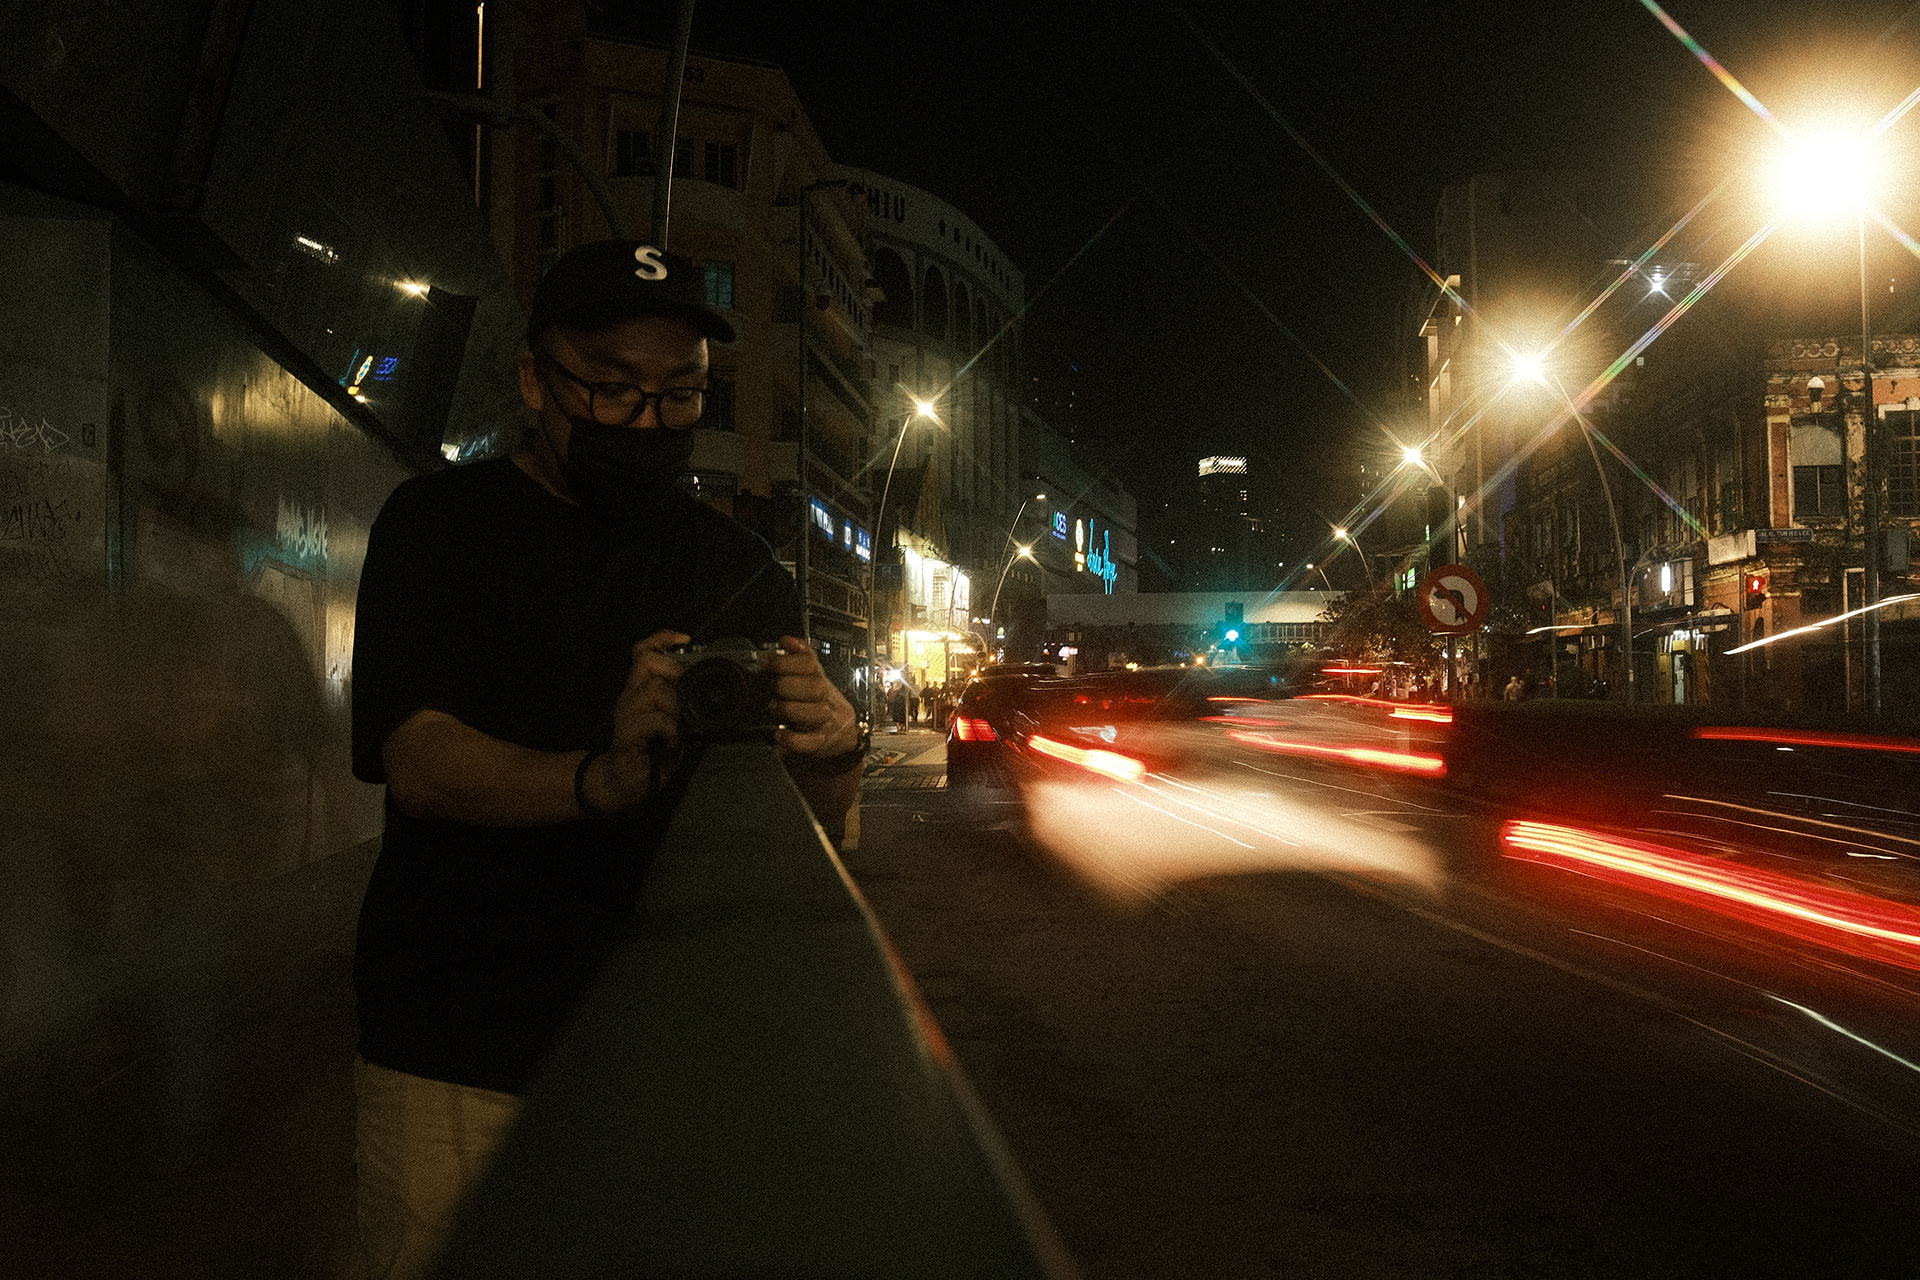
Slower speeds, such as 1/30s or slower, create motion blur. This is great for artistic effects like silky waterfalls, light trails from moving cars, or capturing the movement of clouds in a long-exposure shot.
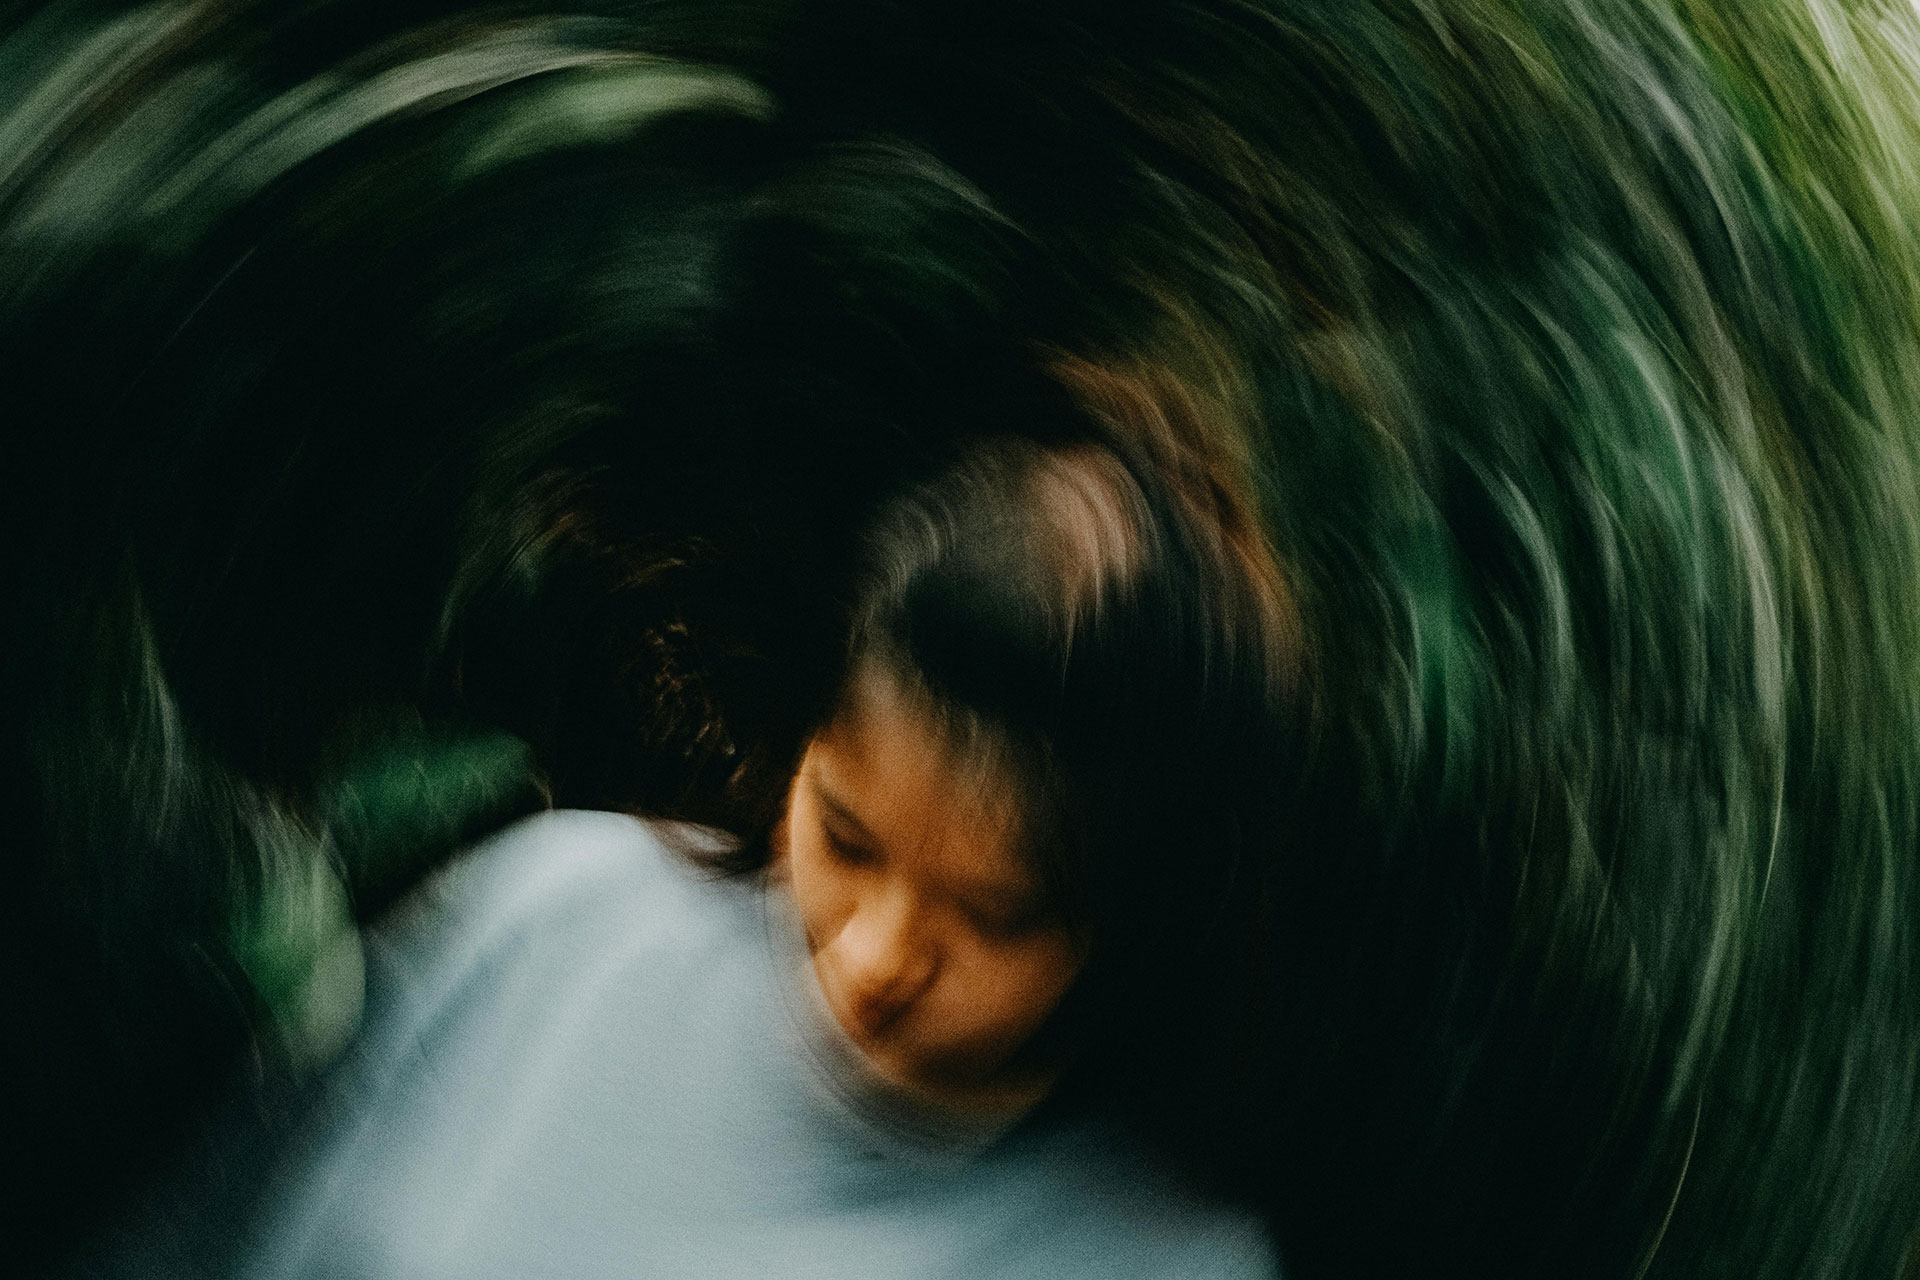
However, slower settings require a steady hand or a tripod to avoid unintentional blur. If you want to master long exposure photography, understanding how exposure time affects your final image is essential.
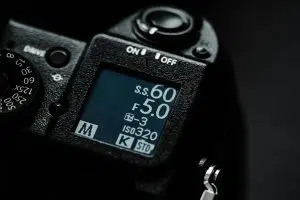
How Shutter Speed Affects Exposure
Shutter speed is one part of the exposure triangle, which also includes aperture and ISO. A fast setting lets in less light, meaning your image might come out too dark unless you compensate by increasing ISO or widening your aperture.
A slower setting lets in more light, which can be useful in low-light situations, but if too much light enters, your image might be overexposed. If you’re learning about camera settings for beginners, practicing how different exposure times impact brightness can help you create balanced exposures.
This camera shutter speed guide will help you understand how to adjust settings for the perfect shot. Learn more in our exposure triangle guide.
Choosing the Right Shutter Speed
The best setting depends on what you’re shooting. For fast-moving subjects like sports or wildlife, use a high-speed setting to prevent motion blur. For creative photography techniques like motion blur or light painting, a slower setting is necessary.
Understanding how to adjust exposure time on a DSLR or mirrorless camera will give you greater creative control over your shots.
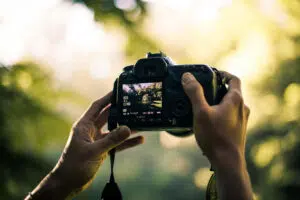
Using Shutter Priority Mode
If you’re still getting comfortable with exposure time, try using Shutter Priority mode (S or Tv on most cameras). This setting lets you choose the exposure time while the camera adjusts the aperture automatically for proper exposure.
It’s a great way to practice and see how different speeds affect your shots. Learning how to use exposure time settings in different lighting conditions can improve your photography dramatically.
Tips for Getting Sharp Photos
Using a tripod for slower exposure times can help eliminate camera shake, especially when shooting in low light. Increasing ISO when necessary allows you to use a faster setting without underexposing your shot.
Many lenses and cameras have built-in stabilization to help reduce blur when using a slower setting. A good guideline is to use a setting at least as fast as the focal length of your lens to minimize camera shake.
If you’re wondering how to avoid motion blur in photography, paying attention to these factors will make a huge difference.
Creative Uses of Shutter Speed
Exposure time is an essential tool for creating unique photography effects. Panning is a technique where you use a slower setting while moving your camera with a moving subject, keeping the subject sharp but blurring the background.
Light trails can be captured by setting your camera on a tripod, using a long exposure, and photographing moving car lights at night. The silky water effect is achieved by shooting waterfalls or waves at around 1s or longer, creating a smooth, dreamy look.
For astrophotography enthusiasts, capturing star trails requires extremely long exposures to show the motion of the stars across the night sky.
Conclusion: Mastering the Art of Shutter Speed
This camera shutter speed guide is more than just about technical settings—it’s a creative tool that can elevate your photography to new levels. Whether you’re capturing the crisp details of a hummingbird in flight or the ethereal motion of a waterfall, understanding and experimenting with different speeds will open up endless possibilities.
The key is practice. Take your camera out, experiment in different lighting conditions, and observe how exposure time changes your results. Over time, adjusting this setting will become second nature, allowing you to capture the perfect shot every time.
Photography is an art of constant learning, and mastering exposure time is a fundamental skill that every photographer should develop. What’s the most creative shot you’ve captured using different settings? Share your experiences, tips, or questions in the comments below and let’s learn from each other!
Frequently Asked Questions
What is the best shutter speed for portraits?
For standard portraits, an exposure time of 1/200s to 1/500s is usually ideal to keep the subject sharp while avoiding motion blur. If you’re shooting in low light without a flash, you may need to use a slower setting or increase ISO to maintain exposure.
How do I avoid motion blur in my photos?
Use a fast setting, ensure your hands are steady or use a tripod, and increase ISO if needed to maintain proper exposure. Knowing how to adjust exposure time for different lighting and movement conditions can prevent unwanted blur in your shots.
Can I use slow shutter speed without a tripod?
Yes, but it’s challenging. Using image stabilization and bracing your camera against a solid surface can help reduce shake. Learning how to shoot long exposure photos handheld takes practice, but it can be done with the right technique.