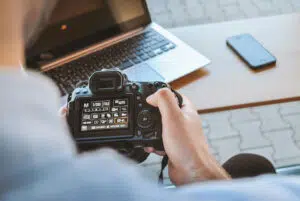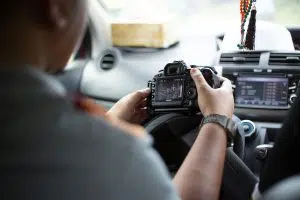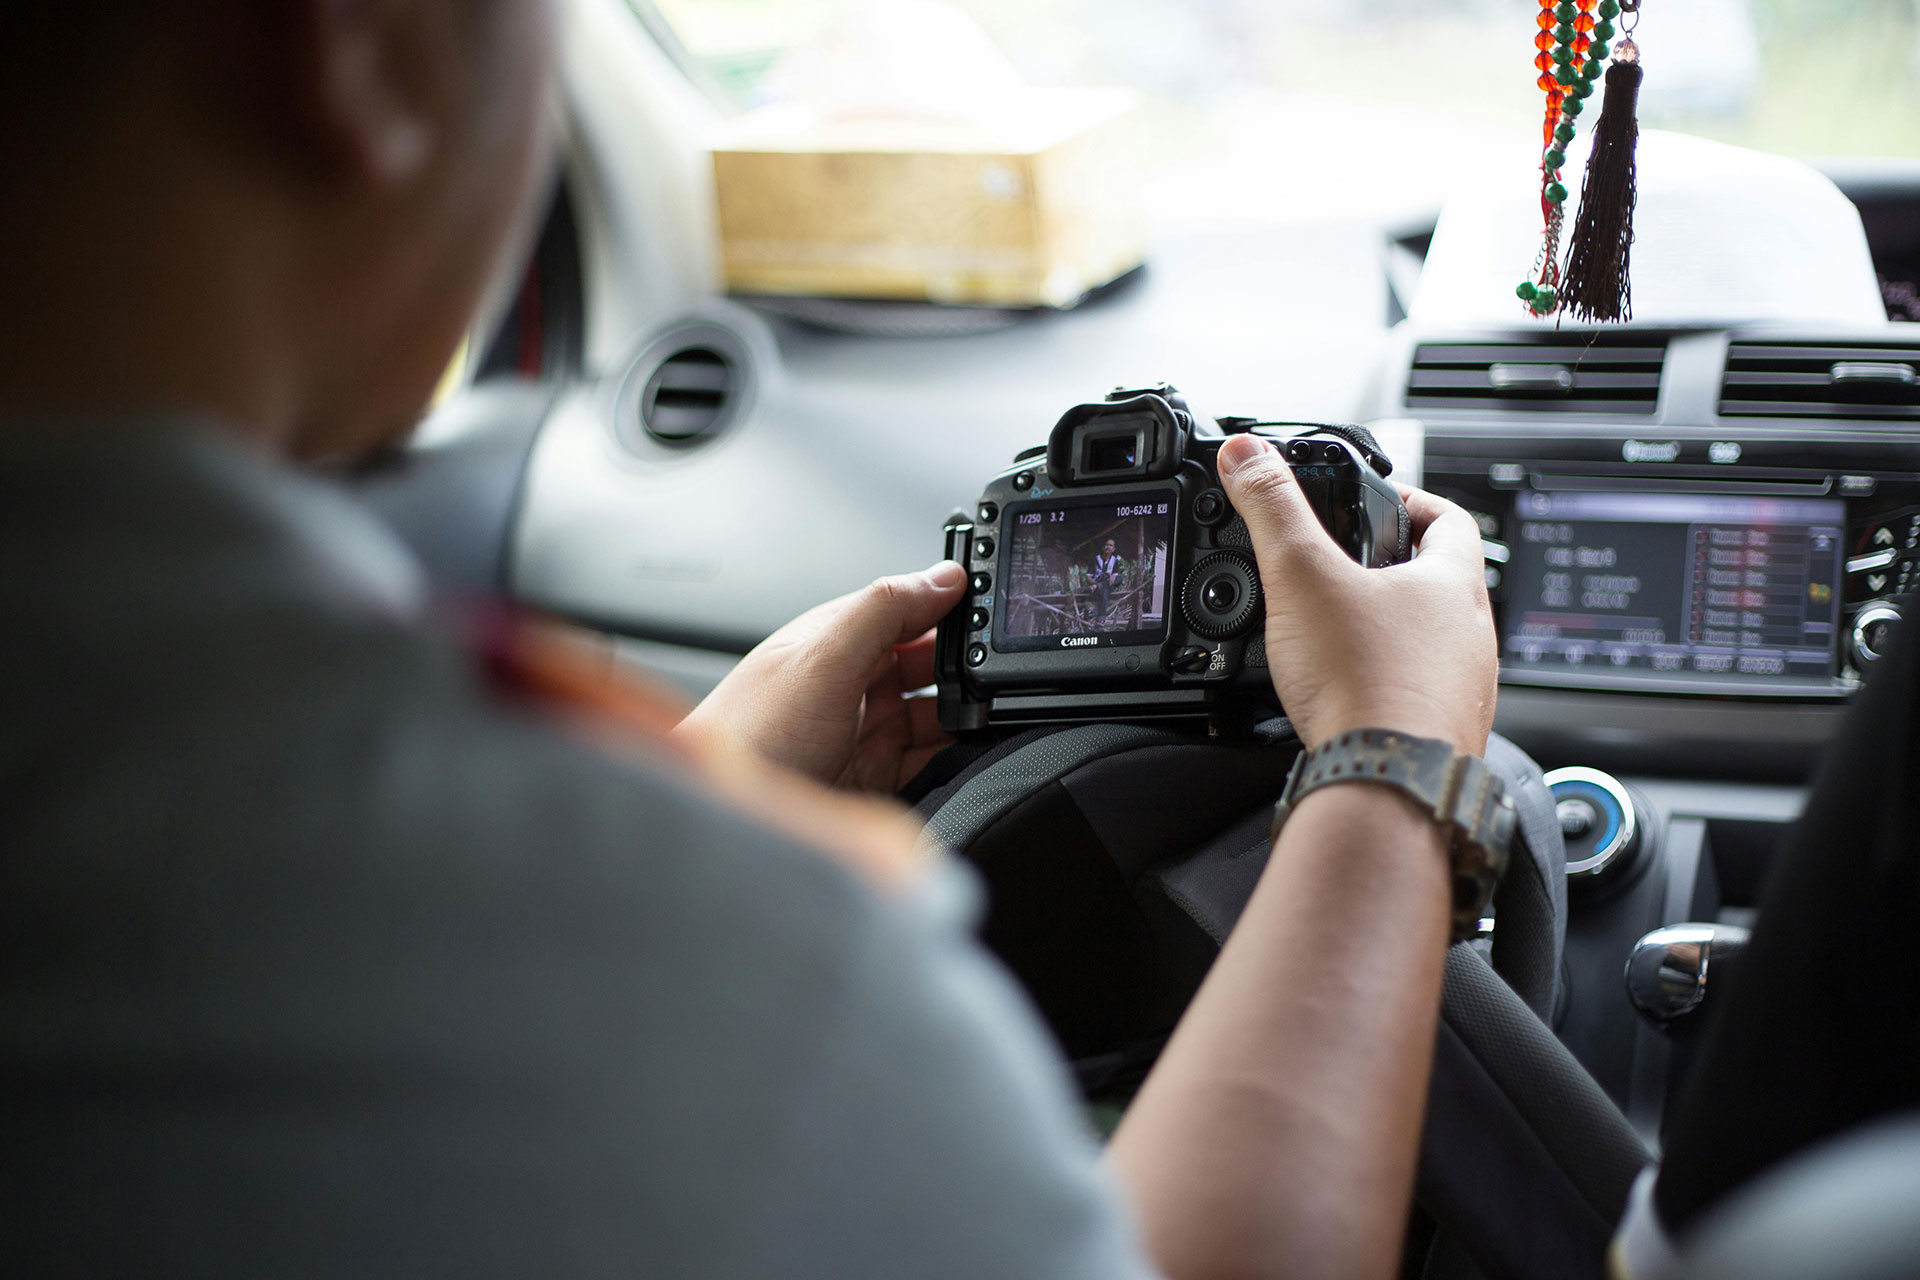
ISO is often misunderstood, but mastering it can elevate your photos from flat snapshots to professional-grade images. It’s the key to unlocking your camera’s potential in dim alleyways, neon-lit cityscapes, or candlelit portraits.
Knowing when and how to tweak ISO camera settings lets you push creative boundaries while avoiding washed-out highlights or noisy shadows.
What Is ISO in Photography?
ISO in photography refers to the sensitivity of your camera sensor to light, but it’s more than just a number. At ISO 100, your sensor performs at its cleanest, producing silky smooth images with rich details.
Cranking it up to ISO 3200 or beyond makes your sensor hyper-sensitive, brightening your scene but adding that infamous speckled noise that can smother fine textures and dull colors.
ISO camera settings affect brightness and noise, and finding the right balance ensures high-quality results in any lighting.
How Does ISO Affect Image Quality?
High ISO isn’t the enemy, but it’s a double-edged sword. It brightens a poorly lit shot while introducing digital noise, which can turn smooth skies grainy and rob portraits of lifelike skin tones. For instance, at 6400 on a Fujifilm X-T5, noise becomes noticeable in shadows, but details hold up well with proper reduction.
Meanwhile, cameras like the Sony A7S III retain up to 85% detail even at 12800, making them trusted tools for night and event photography. Adjusting ISO camera settings correctly can help you harness this brightness without compromising quality.
When to Use Low ISO Camera Settings
Low ISO settings, such as ISO 100 or 200, thrive in bright daylight or when using a steady tripod. Capturing the texture of a weathered wooden pier at sunrise or the crisp details of a mountain ridge requires low ISO to preserve every subtle grain and shadow.
Studio portraits with controlled lighting also benefit from low ISO, keeping skin smooth and shadows clean. ISO camera settings in this range minimize noise, ensuring maximum image quality.
When to Use High ISO Camera Settings
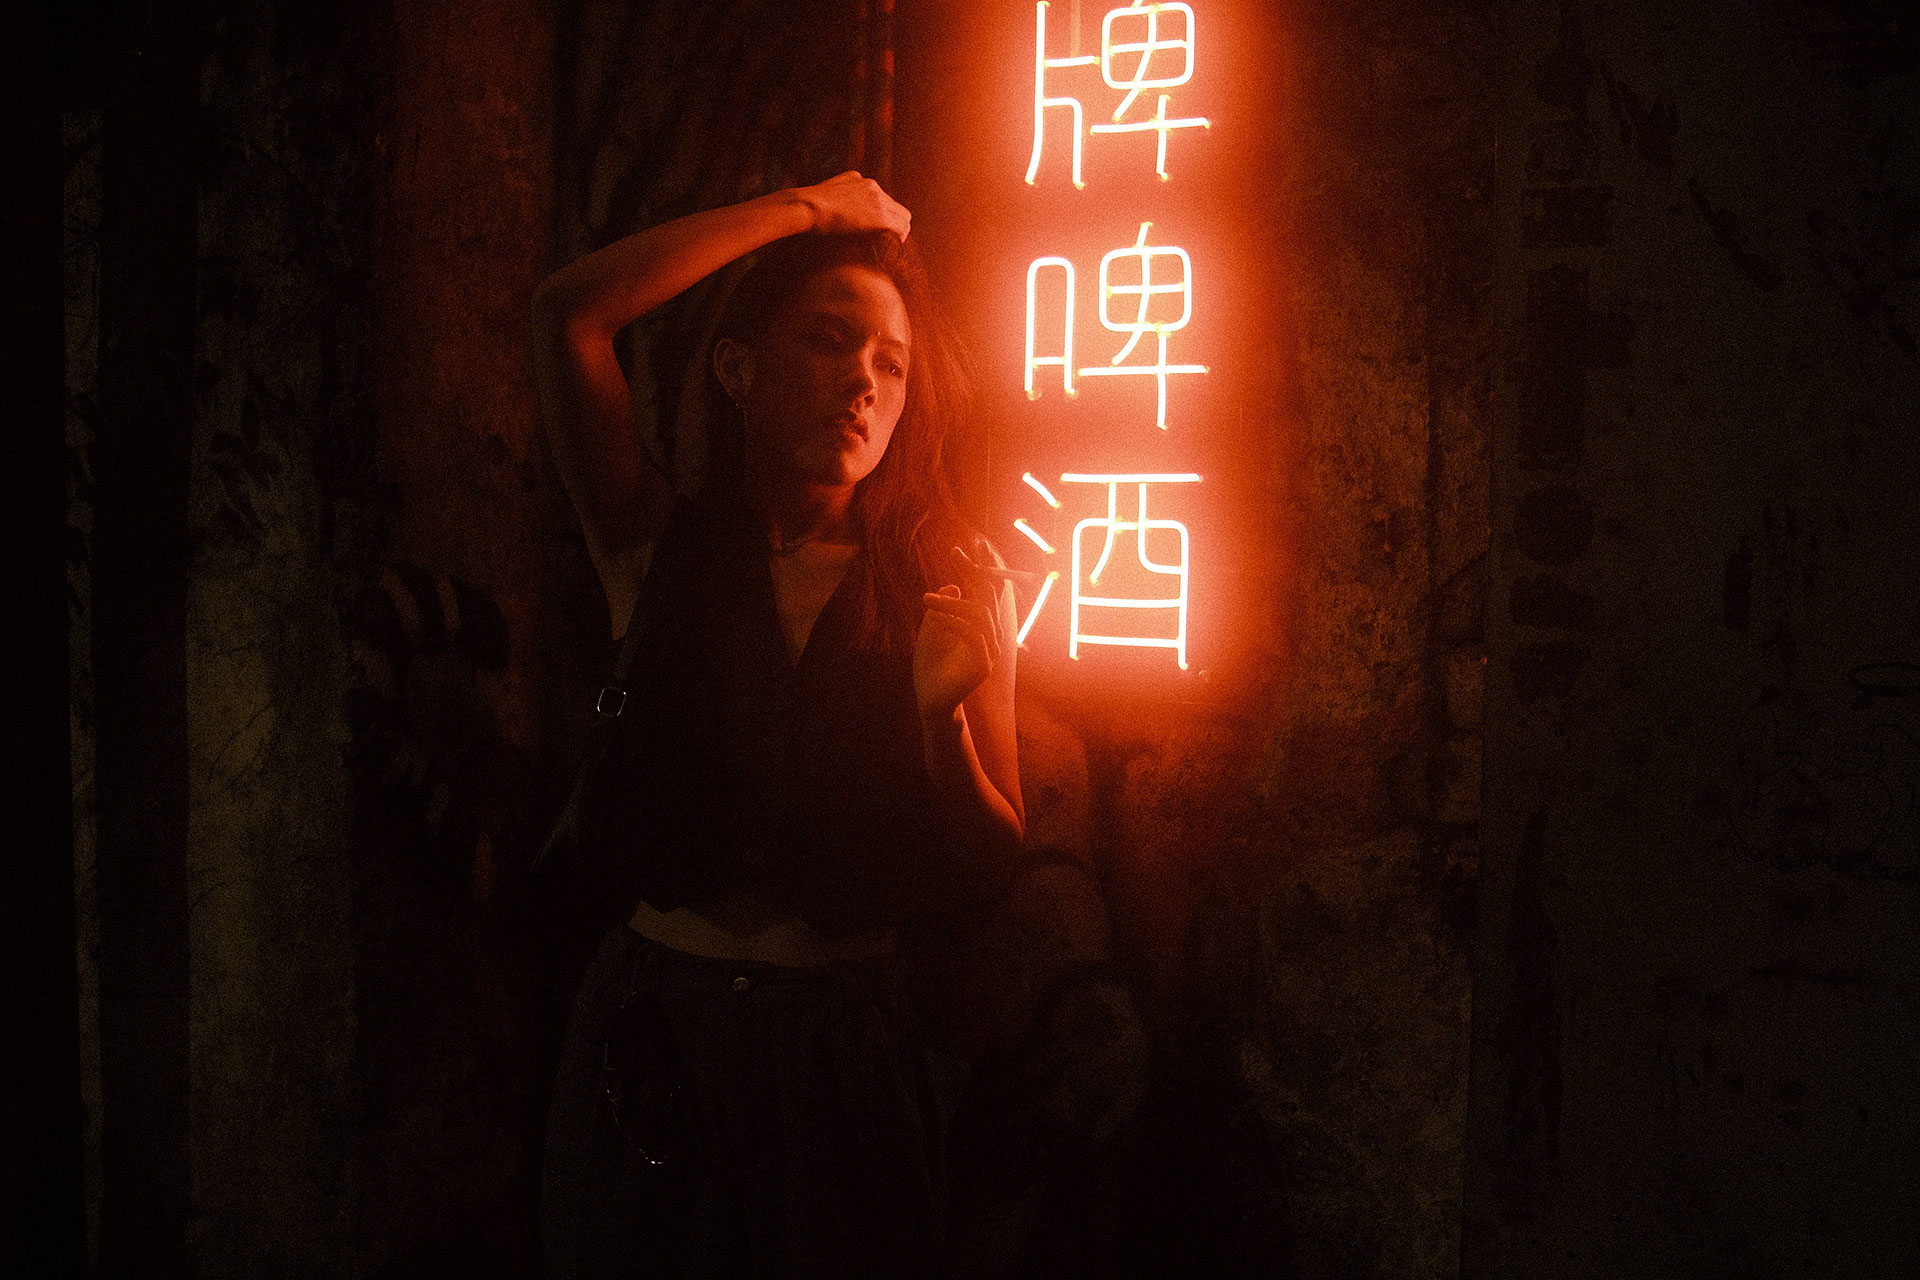
High ISO settings, like 3200 and beyond, excel in low-light conditions. Street photographers chasing fleeting moments under city neon often shoot at 6400 to freeze action without motion blur. Concert photographers depend on high ISO to capture artists under strobing lights while maintaining fast shutter speeds.
Even astrophotographers push past 3200 to reveal faint star clusters otherwise lost in darkness. During a night shoot in Kuala Lumpur, I cranked it up to 6400 to capture crisp silhouettes against neon lights without losing shadow detail. Adapting to these conditions is essential for low-light photography.
Best ISO Camera Settings for Night Photography
For night photography, ISO settings between 1600 and 6400 are common, depending on your camera’s noise performance. High-end models like the Fujifilm X-T5, Sony A7S III handle 12800 with minimal noise, while budget cameras may struggle beyond 3200. Testing your gear in dark environments helps you understand its low-light capabilities and adjust ISO settings accordingly.
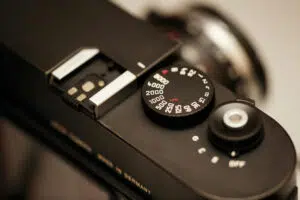
Balancing ISO with Shutter Speed and Aperture
Exposure is a three-way dance between ISO, shutter speed, and aperture. Capturing a skateboarder mid-air at dusk requires a fast shutter, forcing you to either widen the aperture or increase ISO. A landscape photographer, on the other hand, can stick to 100 but might need a 10-second shutter to gather enough light, relying on a sturdy tripod to prevent blur.
Balancing these elements depends on your scene and the effect you’re after. ISO plays a pivotal role in achieving this harmony
How to Reduce Noise at High ISO Camera Settings
High ISO noise doesn’t have to ruin your shot. Cameras like the Canon R5 offer in-camera noise reduction, though some photographers prefer manual noise reduction in Adobe Lightroom for more control. Shooting in RAW captures more detail, giving you the flexibility to smooth noise without sacrificing sharpness.
Some also embrace noise as an artistic choice, adding character to black-and-white street photos or gritty documentary work. Experimenting with ISO camera settings alongside noise reduction techniques helps you find your preferred workflow.
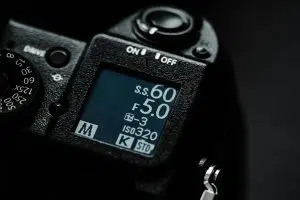
Testing Your Camera’s ISO Performance
Every camera handles ISO differently, and knowing your gear’s limits can be a game-changer. Test it at 400, 1600, 3200, and beyond in low light. Pay attention to how noise creeps into shadows and how much detail is lost in highlights.
For instance, you might find that 3200 on a Canon R6 is acceptable, but 6400 introduces too much grain. This helps you determine the highest setting where image quality remains intact, ensuring you’re ready when light starts to fade. Regular testing builds confidence in pushing your camera’s limits.
Final Thoughts
ISO is more than a number—it’s a tool to shape your vision in any lighting condition. Knowing when to push ISO for a sharp street shot or keep it low for a flawless landscape sets skilled photographers apart. Find out more in the exposure triangle guide.
Grab your camera, head out after sunset, and experiment with different ISO camera settings. With practice, adjusting them will feel as natural as composing your frame.