Mastering the aperture is like finding the perfect seasoning for a dish—it can elevate an ordinary shot into something stunning. Whether you capture portraits with dreamy, blurred backgrounds or landscapes with sharp details from foreground to horizon, this setting is your secret sauce.
But for many beginners, it can seem overly technical. Don’t worry; it’s simpler than it looks. This camera aperture guide will break it down in a way that makes sense and helps you take better photos.
What Is Aperture?
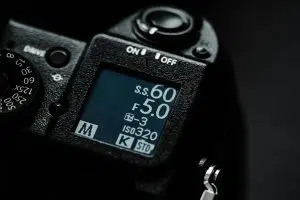
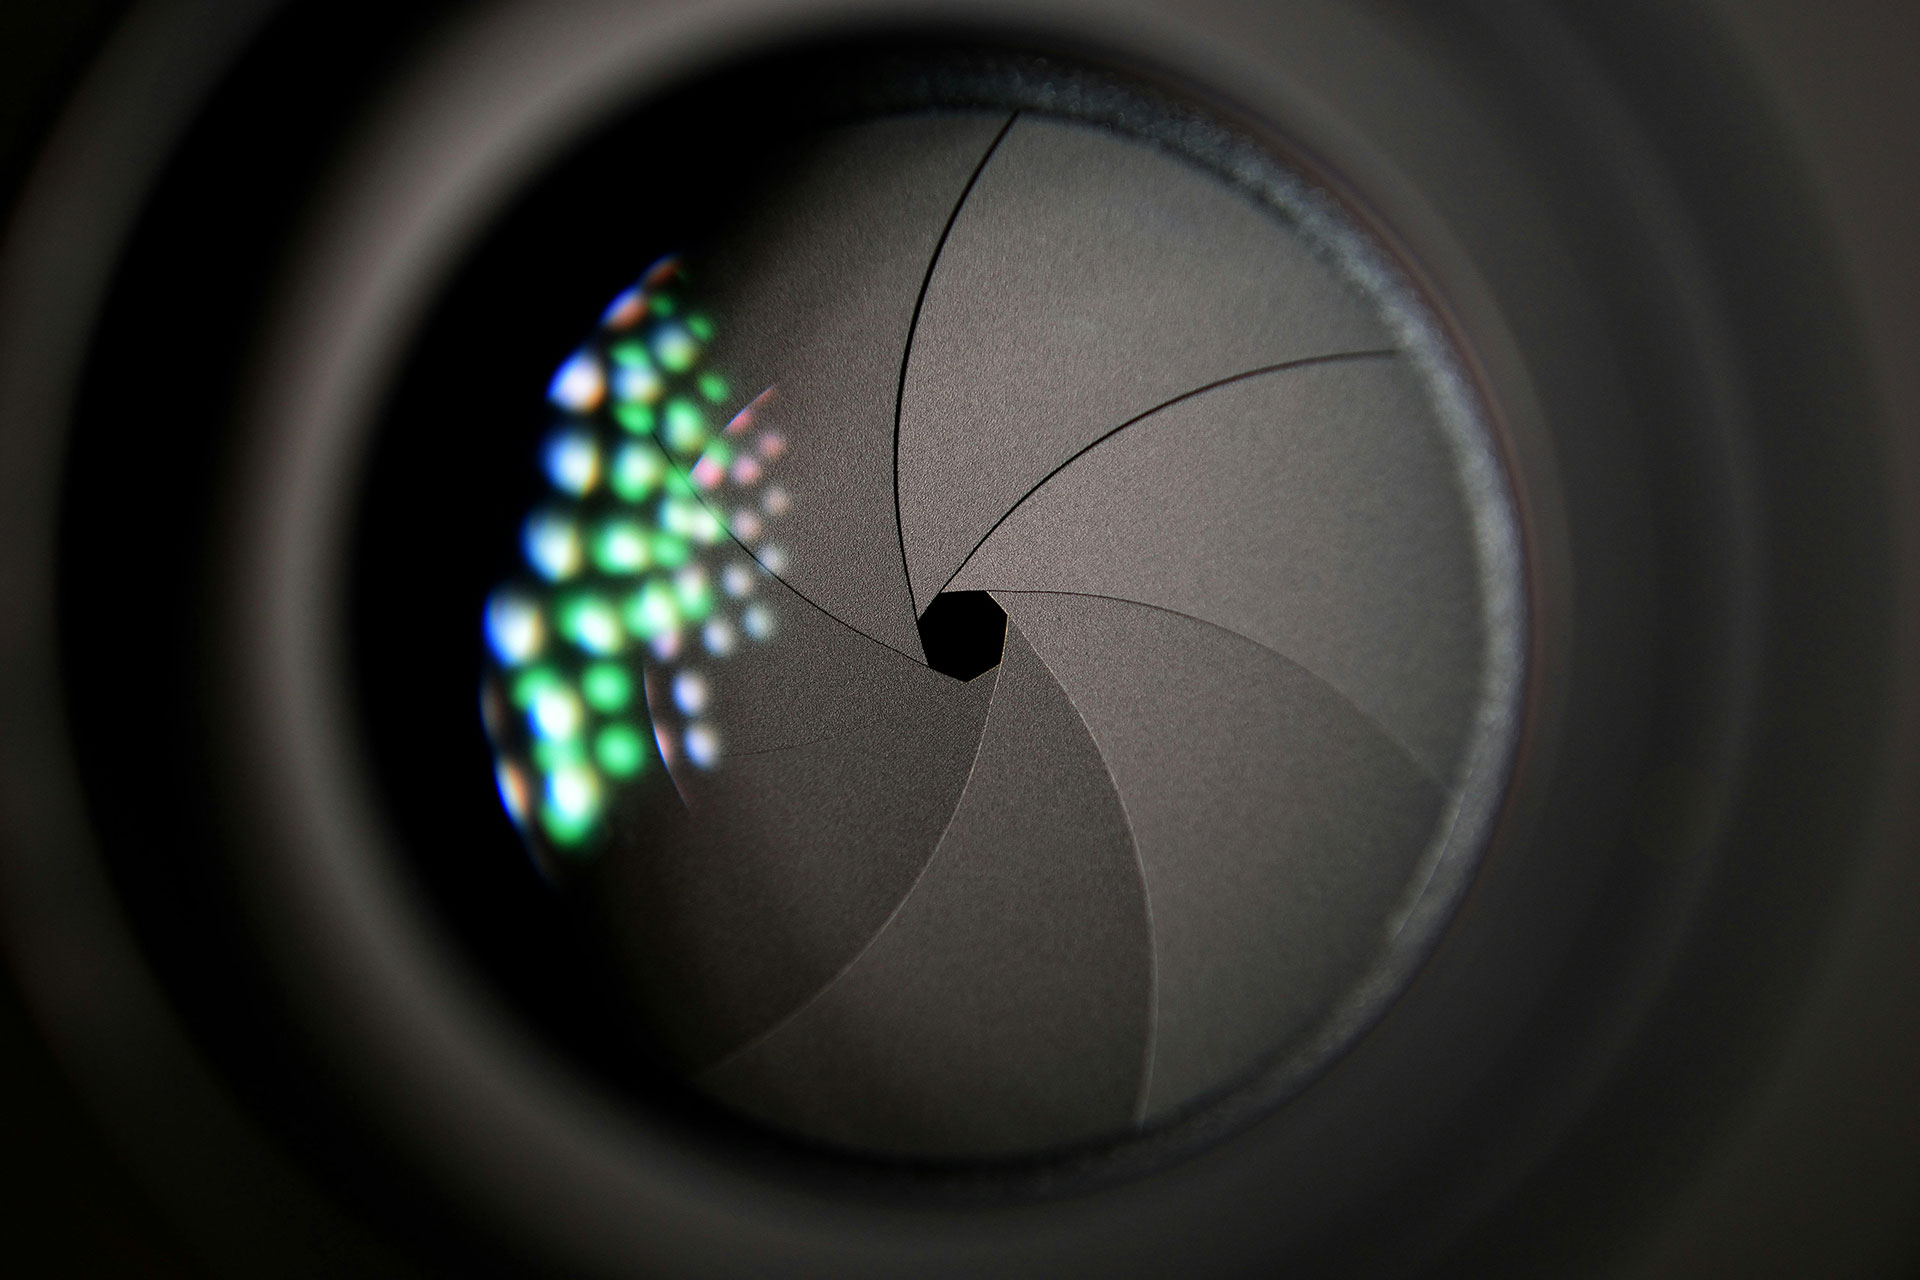
The aperture is the opening in your lens that controls how much light reaches the sensor. It works alongside shutter speed and ISO as part of the exposure triangle, balancing light, motion, and sensitivity to create a well-exposed photo. Think of it like your eye’s pupil—it expands in dim conditions and contracts in bright light.
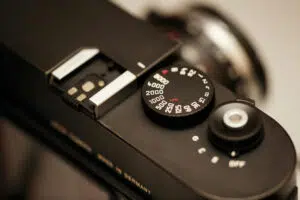
The confusing part? It’s measured in f-stops. You’ve likely seen numbers like f/1.8, f/5.6, or f/16. The smaller the f-number, the wider the opening. A setting of f/1.8 lets in lots of light, while f/16 is much smaller, allowing less light to pass through.
How Aperture Affects Your Photos

This setting isn’t just about brightness—it significantly impacts depth of field, or how much of your photo appears sharp from front to back. This camera aperture guide will show how different settings transform your images.
- Wide apertures (f/1.8 – f/2.8) create a shallow depth of field, isolating subjects with a blurred background (bokeh). Perfect for portraits, where the subject remains sharp while distractions melt away.
- Narrow apertures (f/11 – f/16) deliver deep depth of field, keeping everything in focus from foreground to background—ideal for landscapes.
Real-World Examples
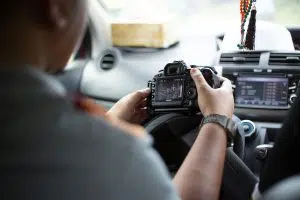
Imagine shooting a friend in a dimly lit café. To blur the cluttered background and keep their face sharp, you set f/2.8. The wide opening allows more light in, so you don’t have to raise ISO too much, maintaining image quality.
Now, picture a mountain scene at sunset. You want everything sharp, from the foreground grass to distant peaks. Setting f/14 ensures clarity across the frame, but you may need a slower shutter speed or higher ISO to balance exposure.
Low-Light Photography and Aperture
Wide apertures (f/1.4, f/2.0) are invaluable in low-light situations. Lenses like the Sigma 35mm f/1.4 or Canon RF 50mm f/1.2 allow more light in, helping you shoot handheld without excessive ISO. In nighttime street photography or indoor settings, using a wider opening prevents excessive noise from high ISO while preserving detail.
For instance, shooting at f/1.8 in a dimly lit bar preserves the atmosphere without using a flash. Similarly, the Fujifilm XF 50mm f/1.0 R WR or the SIRUI Sniper 23mm f1.2 lens excels in nighttime street photography, delivering outstanding subject isolation and detail retention even in challenging lighting.
The Trade-Offs
Of course, there’s always a trade-off. A wide aperture can sometimes be too shallow. If you’re taking a close-up portrait at f/1.4, the eyes might be sharp, but the nose could blur out. This can be beautiful, but it can also be frustrating. You need to get your focus spot-on.
On the other hand, narrow apertures like f/16 require more light. This often means slower shutter speeds. Without a tripod, this can lead to camera shake and blurry images. You might also need to push your ISO higher, which introduces noise.
Creative Uses of Aperture

Aperture isn’t just a technical setting; it’s a creative tool. Photographers use it to guide your eye and shape the story of an image.
Take street photography, for instance. A wide aperture isolates a subject, making them stand out against a bustling background. This creates intimacy—you feel like you’re right there with the person.
In contrast, documentary or travel photographers might prefer a narrower aperture to capture the full environment. They want you to see the vendors, the market stalls, and the crowd all in one detailed frame.
Then there’s macro photography—close-up shots of flowers, insects, or small objects. A wide aperture like f/2.8 can create stunningly soft backgrounds, making the tiny details pop. But because the depth of field is razor-thin, even slight movements can throw your focus off. Sometimes, stopping down to f/8 gives a better balance between focus and blur.
Lenses and Aperture
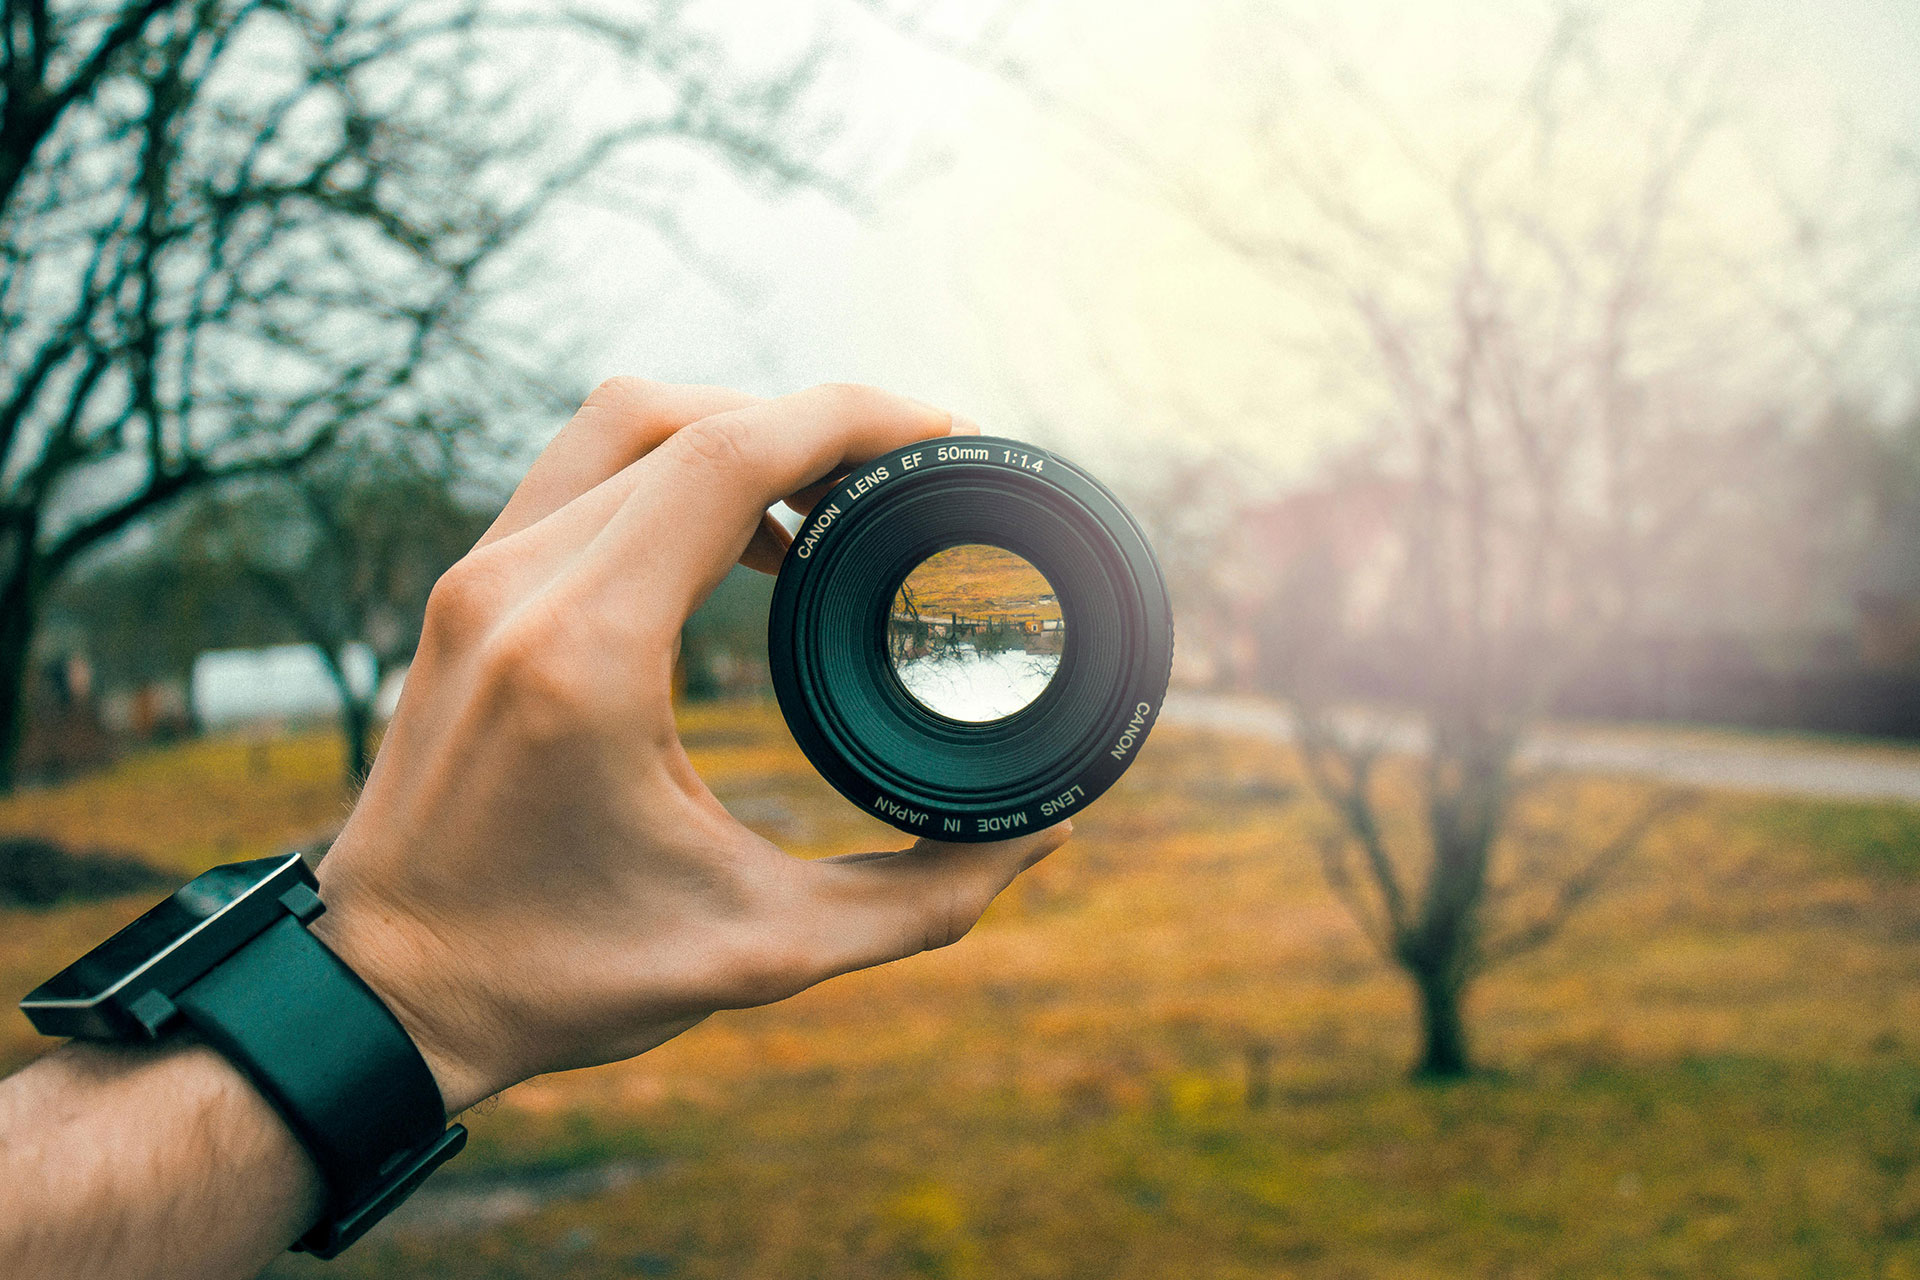
Not all lenses are created equal. Faster options with wide apertures like f/1.4 or f/1.8 often come at a higher price due to superior glass, build quality, and more precise optics. A budget-friendly 50mm f/1.8 might cost around $125, while a high-end 50mm f/1.2 can exceed $2,000. The price difference isn’t just about a wider aperture—it also means sharper images, faster autofocus, and better low-light performance. Investing in quality glass can significantly improve your photography, and this camera aperture guide highlights why lens choice matters.
Prime Lenses for Low-Light & Bokeh – Prime lenses, like the Fujifilm XF 50mm f/1.0, offer exceptional sharpness and subject isolation, making them great for portraits and street photography. The Sigma 35mm f/1.4 DG DN Art is another fantastic option, providing a fast aperture ideal for low-light scenes and cinematic bokeh.
Zoom Lenses with Constant Aperture – Unlike budget zooms with variable apertures (f/3.5-5.6), professional zoom lenses maintain a wide aperture throughout the zoom range. The Fujifilm XF 16-55mm f/2.8 is a top choice for Fujifilm users, delivering sharp images across focal lengths. For full-frame shooters, the Canon RF 24-70mm f/2.8L IS USM balances versatility, speed, and image stabilization, making it a go-to lens for professionals.
Conclusion About Camera Aperture
Aperture is more than just a number—it’s a powerful tool that shapes light, focus, and creative expression. Mastering it allows you to control depth of field, enhance compositions, and adapt to any lighting condition with confidence. The best way to learn is through experimentation—adjust your settings, analyze your results, and refine your technique.
With time, choosing the right aperture will feel instinctive, helping you capture stunning images effortlessly. Let this camera aperture guide be your starting point, and remember—your best shot might be just one f-stop away!